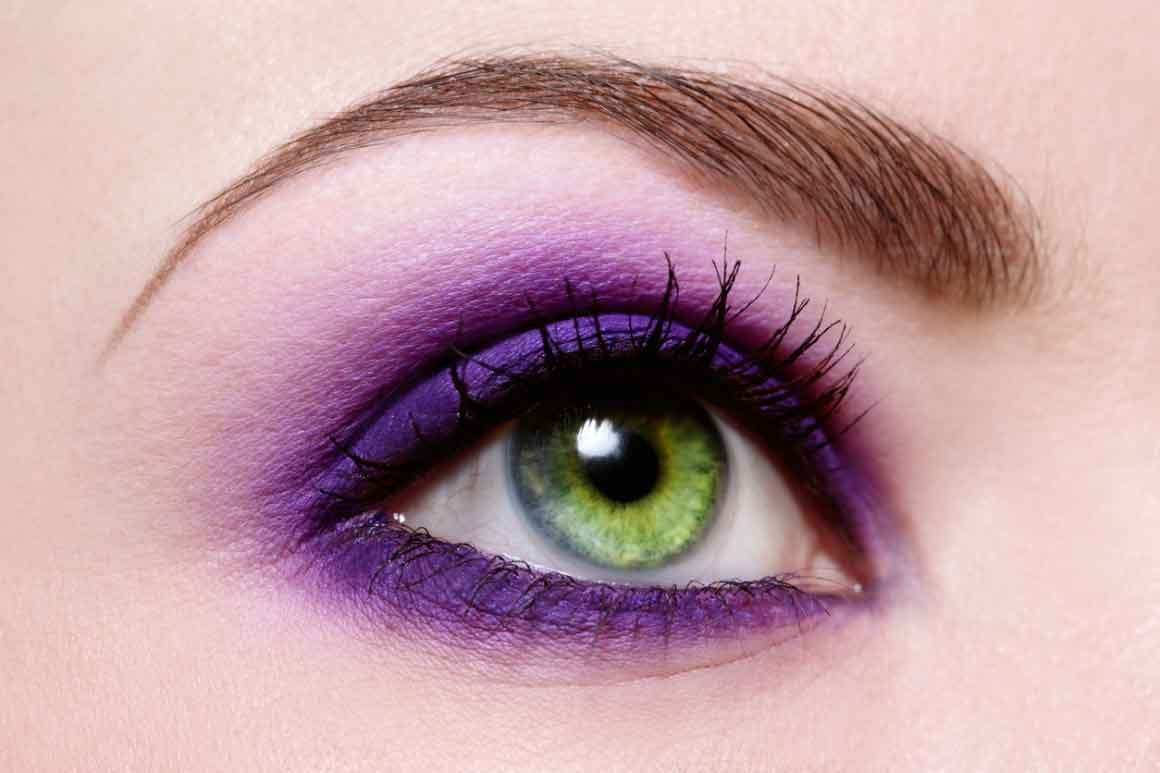
Green eyes are a rare genetic lottery win. They are striking, often misunderstood and undeniably charming. But if you have them, you probably know how hard it is to find makeup that really does them justice. Most common advice seems generic. You don’t need more general advice. You need a color theory that works.
We looked at the most effective techniques for highlighting green irises. The goal is not to change eye color. It’s about amplify what’s already there. Here are four concrete ways to make green eyes pop with makeup without trying too hard.
Why complementary colors work best
The secret lies in the color wheel. Red is the opposite of green. If you place reds near green eyes, the contrast will make the green appear brighter. You don’t need a completely red face. You just need the right shades.
Think warm shades of brown. Think terra cotta. Think brick reds. These aren’t just trendy eyeshadows. They are effective tools for accentuating green eyes.
“Use warm eyeshadows like copper, bronze or rust to accentuate green eyes.”
This is the most important rule for anyone wondering how to emphasize green eyes. Cool tones like silver or blue can sometimes wash them out or make them look muddy. Warm tones do the opposite. They create a natural pop.
Tip 1: Warm brown eyeshadow base
Start with a warm brown shade. Spread it all over the lid. This creates a neutral base that adds warmth. It’s subtle. It’s wearable. It works during the day or for a quick night out.
Look for browns with hints of orange or red. Avoid cool, gray browns. They mute your eye color. Instead, lean towards shades that feel like toasted almonds or spiced cinnamon. This simple step alone can change the way your eyes look in natural light.
Tip 2: Copper and bronze eyeliner
The line doesn’t have to be black. Black is hard. This creates a border that can separate your eyes from the rest of your face. Try dark brown or deep bronze instead. It softens the look while providing definition.
For a stronger effect, use a copper eyeliner. Copper is rich in red undertones. It directly complements the green. Apply it to the upper lash line. Keep it thin. Thick lines can overwhelm the eye. A fine, precise line draws attention to the iris without hiding it.
Tip 3: Peach or coral blush
Blush isn’t just for cheeks. It reflects light onto the skin around the eyes. This creates a natural glow that accentuates the color of the eyes. Choose a peach or coral blush. These shades share the same red undertone that works best with green eyes.
Apply it slightly higher on the cheekbones, near the outer corner of the eye. This lifts the face. It also creates a continuous warm tone that frames the eyes. The effect is soft. It looks like you are naturally radiant and not heavily made up.
Tip 4: Mascara that opens up your eyes
Mascara is about volume and length. But color is also important. Black mascara is standard. It’s dramatic. It can sometimes be too stark for green eyes. Try dark brown mascara. It’s softer. It looks
Why do complementary colors make green eyes pop?
If you’re looking for the perfect eye shadow to make your emerald green eyes pop, stop looking for more green. You need the opposite.
According to the theory, contrast creates intensity. opposites sit across from each other on the color wheel. Green is directly opposite red. Logically, reds should emphasize green eyes the most.
But let’s be honest. Applying bright red pigment to your lids looks less like a fashion statement and more like you’ve been crying. Nobody wants that look.
The fix? Choose shades that whisper red instead of shouting it.
Think plum, eggplant or deep purple. These shades have that complementary power without the drama.
Your skin tone also plays a role here. Darker, richer shades of purple flatter fair skin. They create a sharp, eye-catching frame. If you have a darker or more matte skin tone, pastel shades may look too harsh. Stick to rich, mid-tone berries.
Complementary colors ensure maximum visual contrast. For green eyes, this means leaning toward the red side of the spectrum—just not the bright, crying-red side.
It’s not about wearing red. It’s about using its neighbors. The result is eyes that look deeper, brighter and undeniably alive.
Why does this work? It’s physics. Your eye sees the contrast against the iris. The purple neutralizes the green a bit, making the green look stronger in comparison. It’s a trick of the light. A trick of the palette.
Try it. Swatch a plum shade next to your eyes. Watch the change.
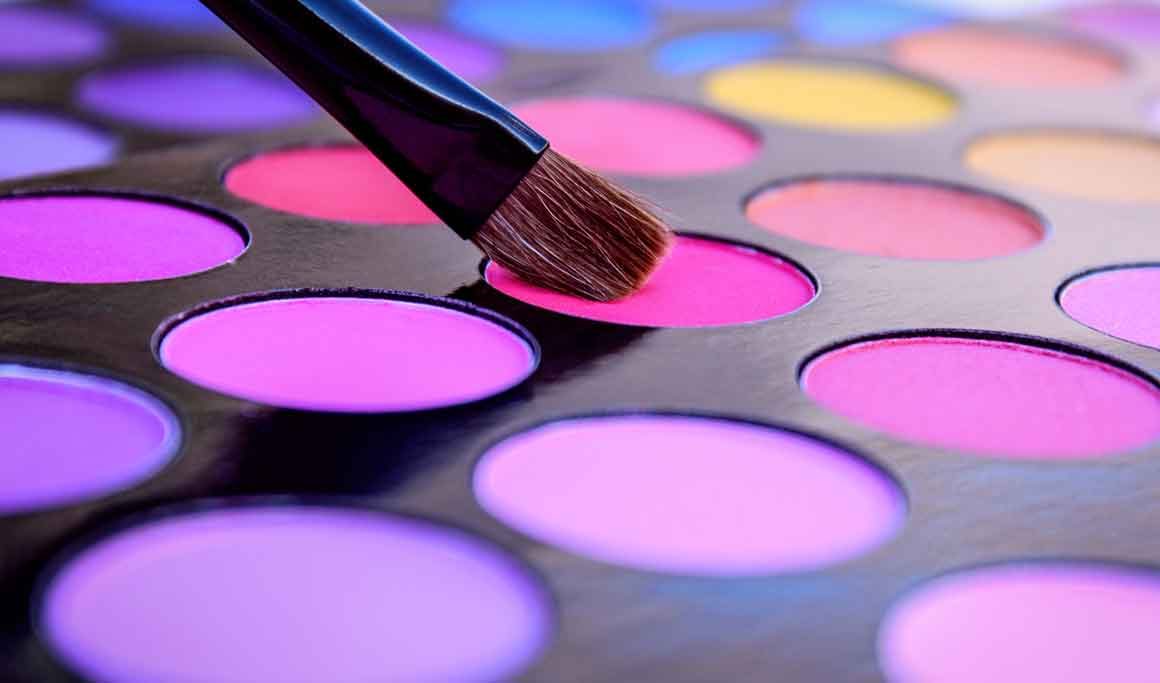
Evening looks takes a little more punch, and for green eyes, that means leaning into the shadows. You can go bold with black or try a tone-on-tone approach with a shade of green that’s significantly darker than the actual iris. The goal is depth, not harmony.
If your eyes are green, avoid light blue or light green eyeshadows. They don’t complete you; They dumb you down. They wash out the very feature you want to highlight.
No matter which palette you choose, preparation is non-negotiable. Apply fixing base on the eyelid. This prevents the pigment from transferring to the corners of the eyes, which is a disaster when going out. No special primer? No problem. Apply a thin layer of liquid foundation with a brush. Let it dry completely before touching it with shadows. It sets the stage.
Apply black or warm brown for liner and mascara. If you want to liven up the look, apply a touch of plum or green mascara only to the tips of the lashes. It’s a subtle detail that separates an amateur from a professional.
Conceal Dark Circes Effectively
You cannot achieve a beautiful look with shadows under your eyes. You need to cover up your dark circles first. This is especially important if you use purple or mauve eyeshadows.
These cool tones make the green irises stand out, but also make undereye discoloration look worse. Without concealer, you look tired and not glamorous.
Match the concealer with the color of your shadows to completely neutralize them. Don’t just go for a shade that’s lighter than your skin; Choose the right color to cancel out the darkness.
- Brown or black shadows: Use an orange-based concealer.
- Blue Shadows: Use a pink concealer.
- Purple shadows: Use a beige concealer.
Make sure it’s just slightly lighter than your natural skin tone. If you go too light, you will have a stark, artificial patch under your eyes.
If you use purple eye shadow, wear under-eye patches while you work. These aren’t just for hydration; They catch fallout. Without it, all concealer gets ruined by glitter or powder dusting the skin around the eyes with glitter or powder.
Adapt the Technique to the shape of your eyes
One size does not fit all. Your technique must adapt to the morphology of your eyes.
Round eyes:
Apply the darkest shade directly to the lash line and blend it upwards into the crease. Keep the wrinkle definition soft; don’t carve it out too sharply. Use a dark pencil on the inner waterline. This visually reduces the white of the eye, making the colored part appear larger and almond-shaped.
For small eyes:
You want to expand, not shrink. Use the “banana” technique. Place the dark shadow on the outer corner of the moving lid and the lighter shadow on the inner half of the mobile lid. Blend from the inner half of the mobile lid of the eye towards the center of the eye. Don’t line the inner waterline. Instead, apply eyeliner only to the outer lash line. This opens up the gaze instead of closing it.
Define your brows
No eye makeup is complete without structured brows. They frame the eyes and bring cohesion to the whole look.
Use an eyebrow pencil that matches your natural hair color or is slightly darker. Lightly hatch the strokes following the natural hair pattern to intensify the color without looking drawn-on. Set everything in place with a clear brow mascara. It keeps the hair in place and locks the makeup for the rest of the night.
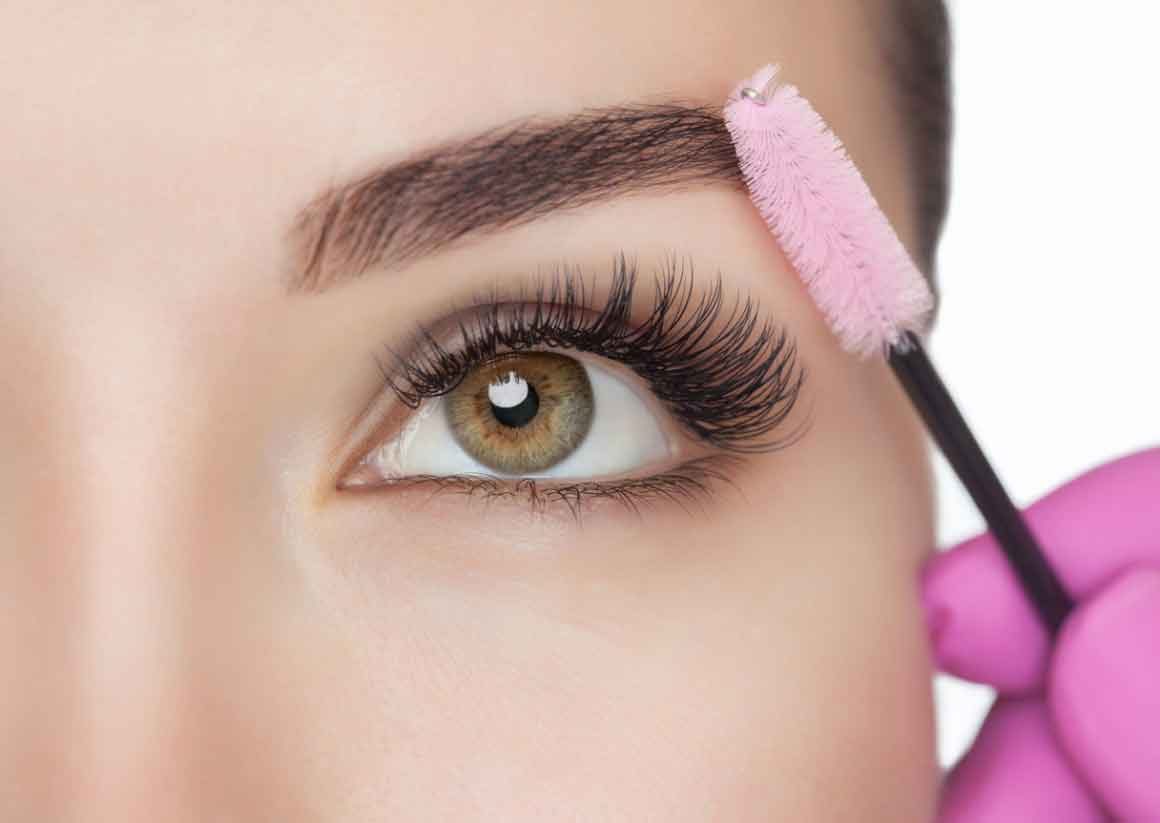
Highlighting the brow bone
Finish the look by bringing a little light to the outer surface of the brow bone. Grab a white powder or highlighter with a subtle pearl finish. Place it under the lower edge of the eyebrows. It captures the light. Makes the eyes sit higher. Opens up the face without saying a word.